
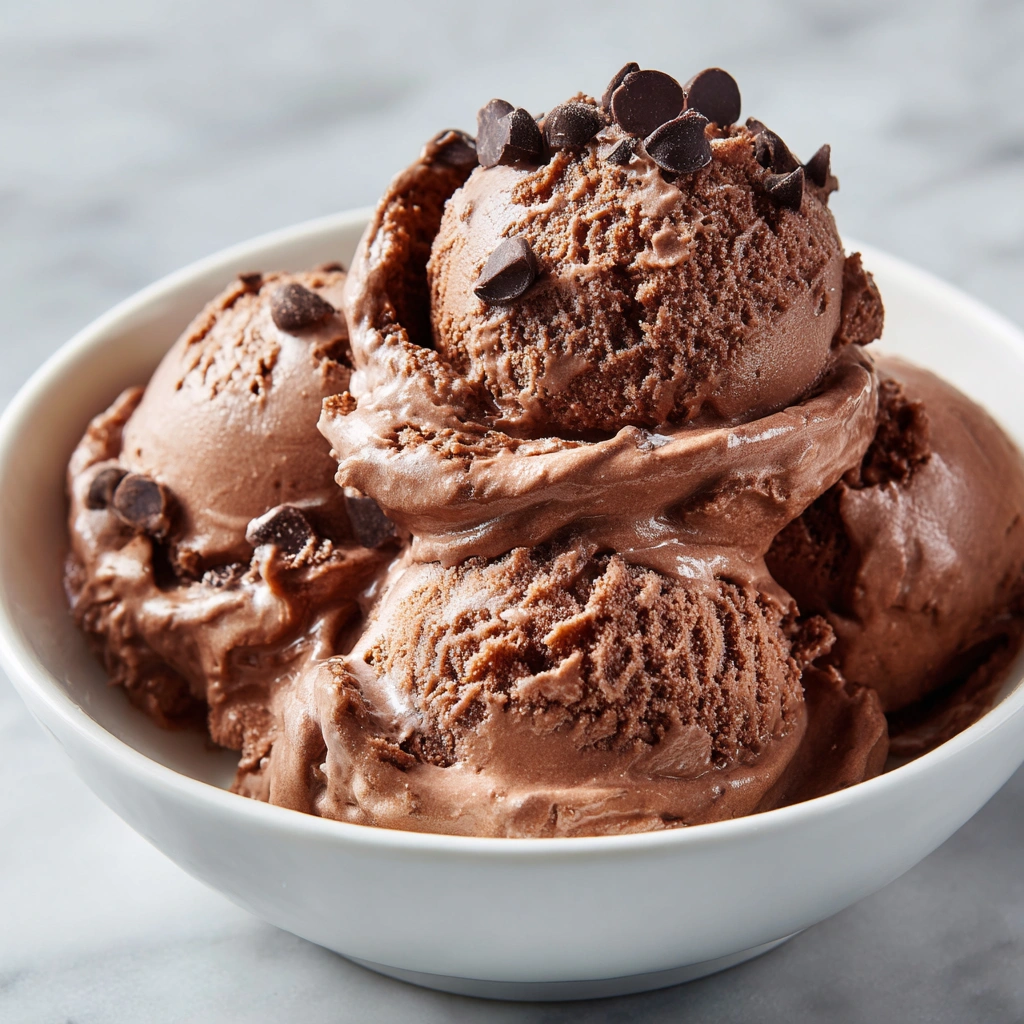
Introduction to No-Churn Chocolate Ice Cream
As a busy mom, I know how precious time can be, especially when it comes to whipping up something sweet. That’s why I’m excited to share my No-Churn Chocolate Ice Cream recipe with you! This delightful treat is not only rich and creamy but also incredibly easy to make. You don’t need an ice cream maker or hours of prep time. Just a few simple ingredients and a little patience while it freezes, and you’ll have a dessert that will impress your loved ones. Trust me, this is the perfect solution for a quick indulgence on a hectic day!
Why You’ll Love This No-Churn Chocolate Ice Cream
This No-Churn Chocolate Ice Cream is a game-changer for busy days. It’s quick to prepare, taking just 15 minutes of your time. The rich, velvety chocolate flavor will satisfy any sweet tooth, making it a hit with the whole family. Plus, you can customize it with your favorite mix-ins. It’s the perfect treat to enjoy after a long day or to celebrate special moments without the fuss!
Ingredients for No-Churn Chocolate Ice Cream
Gathering the right ingredients is the first step to creating your No-Churn Chocolate Ice Cream masterpiece. Here’s what you’ll need:
- Heavy Cream: This is the star of the show! It gives the ice cream its rich and creamy texture.
- Sweetened Condensed Milk: This adds sweetness and creaminess, making the ice cream smooth and luscious.
- Unsweetened Cocoa Powder: The key to that deep chocolate flavor. Opt for high-quality cocoa for the best taste.
- Vanilla Extract: A splash of vanilla enhances the chocolate flavor, adding warmth and depth.
- Chocolate Chips (optional): For those who crave a little crunch! They add delightful bursts of chocolate in every scoop.
Feel free to get creative! You can swap the chocolate chips for nuts or even swirl in some peanut butter for a fun twist. If you’re looking for a lighter version, consider using half-and-half instead of heavy cream. The exact measurements for these ingredients are at the bottom of the article, ready for you to print out and take to the kitchen!
How to Make No-Churn Chocolate Ice Cream
Now that you have your ingredients ready, let’s dive into the fun part—making your No-Churn Chocolate Ice Cream! Follow these simple steps, and you’ll be savoring this creamy delight in no time.
Step 1: Whip the Heavy Cream
Start by pouring the heavy cream into a large mixing bowl. Using an electric mixer, whip the cream on medium speed until stiff peaks form. This means the cream should hold its shape when you lift the beaters. This step is crucial for achieving that light, airy texture in your ice cream. Trust me, it’s worth the effort!
Step 2: Mix the Chocolate Base
In another bowl, combine the sweetened condensed milk, unsweetened cocoa powder, and vanilla extract. Stir until the mixture is smooth and well-blended. This chocolate base is where the magic happens! The cocoa powder gives it that rich flavor, while the sweetened condensed milk adds creaminess. You’ll want to make sure there are no lumps, so mix well.
Step 3: Fold in the Whipped Cream
Now comes the fun part—gently folding the whipped cream into the chocolate mixture. Use a spatula to scoop the whipped cream from the bottom of the bowl and lift it over the chocolate base. Be gentle! You want to keep that airy texture intact. Continue folding until everything is combined, and you see a beautiful, swirled chocolate color.
Step 4: Add Chocolate Chips
If you’re feeling adventurous, now’s the time to fold in those chocolate chips! They add a delightful crunch and extra chocolatey goodness. Just sprinkle them in and gently mix until they’re evenly distributed. If you prefer a smoother texture, feel free to skip this step.
Step 5: Freeze the Mixture
Transfer your luscious mixture into an airtight container. Smooth the top with a spatula to create an even surface. Cover it tightly and pop it in the freezer. Let it freeze for at least 6 hours, or until it’s firm. Patience is key here, but I promise it will be worth the wait!
Step 6: Serve and Enjoy
When you’re ready to indulge, take the ice cream out of the freezer. Let it sit at room temperature for a few minutes to soften slightly. This makes scooping much easier! Use a sturdy ice cream scoop to serve it into bowls or cones. Enjoy every creamy, chocolatey bite!
Tips for Success
- Use a chilled mixing bowl for whipping the cream; it helps achieve better volume.
- For a richer flavor, opt for high-quality cocoa powder; it makes a noticeable difference.
- Don’t rush the folding process; gentle movements keep the mixture light and airy.
- Store your ice cream in a shallow container for quicker freezing and easier scooping.
- Experiment with mix-ins like nuts or fruit for a unique twist!
Equipment Needed
- Mixing Bowls: Use any large bowls you have; glass or stainless steel works best.
- Electric Mixer: A hand mixer is perfect, but a whisk will do if you’re feeling strong!
- Spatula: A silicone spatula is great for folding and scraping.
- Airtight Container: Any freezer-safe container will work to store your ice cream.
Variations of No-Churn Chocolate Ice Cream
- Mint Chocolate Chip: Add a few drops of peppermint extract and fold in green mint chocolate chips for a refreshing twist.
- Peanut Butter Swirl: Drizzle in some creamy peanut butter before freezing for a deliciously nutty flavor.
- Mocha Delight: Mix in a tablespoon of instant coffee granules with the cocoa powder for a coffee-infused treat.
- Vegan Option: Substitute heavy cream with coconut cream and use a dairy-free sweetened condensed milk for a plant-based version.
- Fruit Fusion: Fold in crushed raspberries or strawberries for a fruity contrast to the rich chocolate.
Serving Suggestions for No-Churn Chocolate Ice Cream
- Serve with a drizzle of chocolate or caramel sauce for an extra indulgent touch.
- Pair with fresh berries like strawberries or raspberries for a refreshing contrast.
- Top with whipped cream and a sprinkle of cocoa powder for a beautiful presentation.
- Enjoy alongside a warm brownie or slice of chocolate cake for a decadent dessert experience.
- For a fun twist, serve in waffle cones or chocolate-dipped bowls!
FAQs about No-Churn Chocolate Ice Cream
Can I use a different type of milk instead of heavy cream?
While heavy cream gives the best texture, you can use half-and-half for a lighter version. Just keep in mind that the ice cream may be less creamy.
How long can I store No-Churn Chocolate Ice Cream?
You can store your No-Churn Chocolate Ice Cream in the freezer for up to two weeks. Just make sure it’s in an airtight container to prevent freezer burn!
Can I make this ice cream without an electric mixer?
Absolutely! You can whip the cream by hand with a whisk. It’ll take a bit more effort, but the results will still be delicious!
What can I do if my ice cream is too hard to scoop?
If your ice cream is rock solid, let it sit at room temperature for a few minutes before scooping. This will soften it just enough for easy serving.
Can I add other flavors to the No-Churn Chocolate Ice Cream?
Yes! Feel free to experiment with flavors like mint, coffee, or even fruit. Just remember to adjust the ingredients accordingly for the best results!
Final Thoughts
Making No-Churn Chocolate Ice Cream is more than just a recipe; it’s a delightful experience that brings joy to both the cook and the lucky eaters. The simplicity of this treat allows you to create something special without the stress of complicated steps. Each scoop is a creamy, chocolatey hug that can brighten any day. Whether you’re celebrating a special occasion or simply treating yourself after a long week, this ice cream is sure to melt your heart. So grab your ingredients, and let’s make some sweet memories together!
Print
No-Churn Chocolate Ice Cream That Will Melt Your Heart!
- Prep Time: 15 minutes
- Cook Time: 0 minutes
- Total Time: 6 hours 15 minutes
- Yield: 4-6 servings 1x
- Category: Dessert
- Method: No-Churn
- Cuisine: American
- Diet: Vegetarian
Description
A rich and creamy no-churn chocolate ice cream that is easy to make and perfect for chocolate lovers.
Ingredients
- 2 cups heavy cream
- 1 cup sweetened condensed milk
- 1/2 cup unsweetened cocoa powder
- 1 teaspoon vanilla extract
- 1/2 cup chocolate chips (optional)
Instructions
- In a large mixing bowl, whip the heavy cream until stiff peaks form.
- In another bowl, combine the sweetened condensed milk, cocoa powder, and vanilla extract until smooth.
- Gently fold the whipped cream into the chocolate mixture until fully combined.
- If desired, fold in chocolate chips for added texture.
- Transfer the mixture to an airtight container and smooth the top.
- Freeze for at least 6 hours or until firm.
- Scoop and serve, enjoying the creamy chocolate goodness!
Notes
- For a richer flavor, use high-quality cocoa powder.
- Store in the freezer for up to 2 weeks.
- Let the ice cream sit at room temperature for a few minutes before scooping for easier serving.
Nutrition
- Serving Size: 1/2 cup
- Calories: 300
- Sugar: 25g
- Sodium: 50mg
- Fat: 20g
- Saturated Fat: 12g
- Unsaturated Fat: 8g
- Trans Fat: 0g
- Carbohydrates: 30g
- Fiber: 2g
- Protein: 4g
- Cholesterol: 70mg