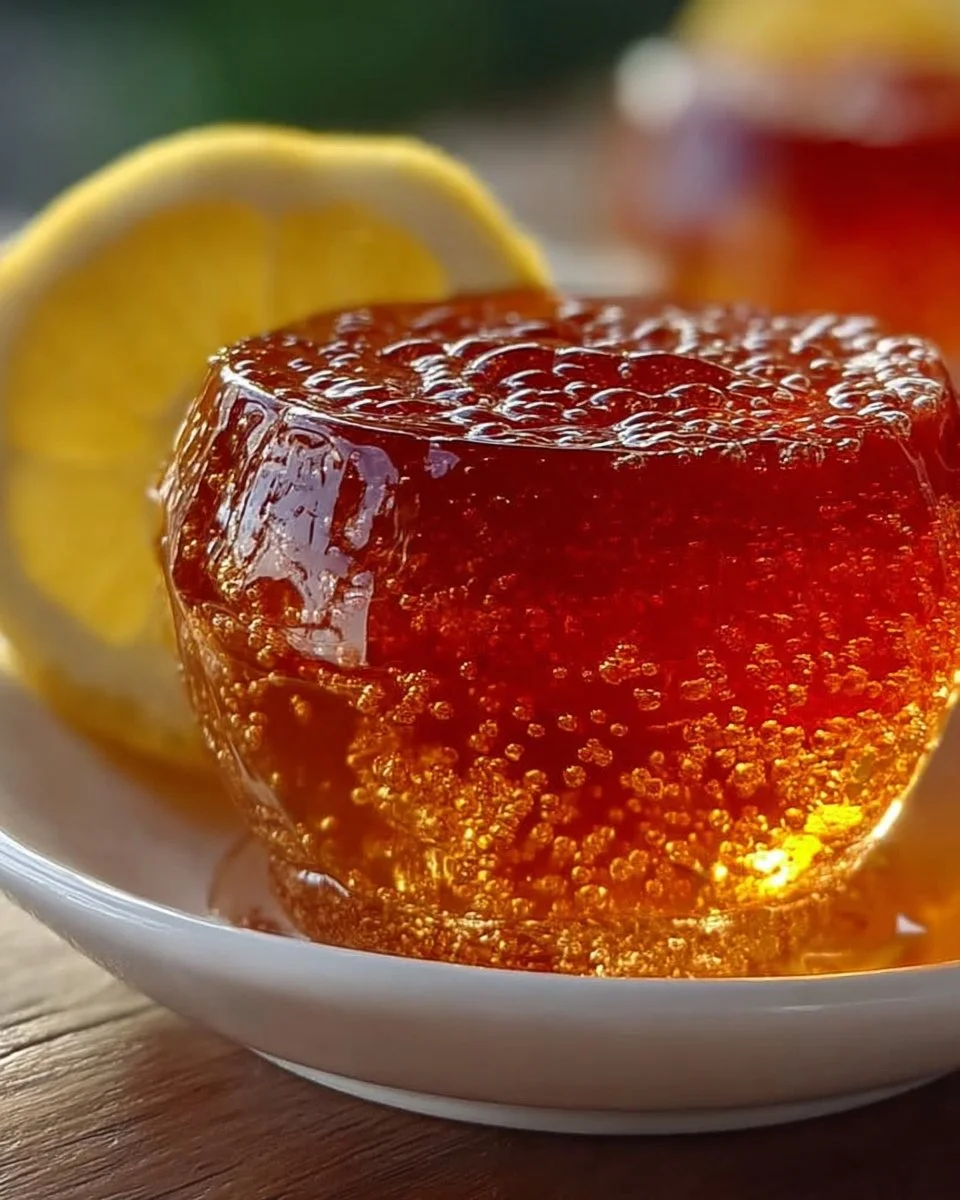
What if the simple joy of dessert could align beautifully with your wellness journey? The Bariatric Gelatin Recipe captures that essence by transforming a classic treat into a guilt-free indulgence that delights the senses. Picture this: a vibrant, jewel-toned wobbly dessert glistening under the kitchen light, its delicate form promising a refreshing burst of flavor with each spoonful. The moment you take a bite, the cool, silky texture melts in your mouth, leaving behind a sweet, light taste that dances joyfully across your palate. This is more than just a dessert; it’s a dash of nostalgia wrapped in a healthy package, offering a whole new way to savor life’s sweeter moments.
This gelatin treat not only nurtures your inner child but does so while respecting your health goals, making it the ultimate companion for anyone navigating their bariatric journey. Imagine enjoying a bowl of this wobbly delight after a hearty meal or as a midday reset, reigniting your appetite for healthful choices. Every spoonful is a reminder that satisfying treats don’t have to sacrifice wellness. Embrace every guilt-free bite as a celebration of taste and health!
Why You’ll Love This Bariatric Gelatin Recipe
This Bariatric Gelatin Recipe doesn’t just tick the boxes for being delicious and nutritious; it opens the door to endless possibilities. The exhilarating sweetness brings cheer to any moment, whether you’re hosting a gathering or just enjoying a peaceful evening at home. The beauty of this recipe lies in its versatility; it’s light enough to be enjoyed after a hearty meal but satisfying enough to quell any lingering sugar cravings.
With minimal ingredients and a straightforward preparation process, this dessert is your ally on the path to healthy living. Imagine plating this vivid gelatin in colorful bowls, each slice capturing the essence of summer—bright, inviting, and thirst-quenching. It transforms your experience of dessert from a guilty pleasure to a healthful delight, making it perfect for parties, family dinners, or even as a snack throughout the week.
Preparation Phase & Tools to Use
Embarking on your gelatin-making journey requires just a few essential tools that possess a hidden power to elevate your culinary creation.
-
Mixing Bowl: Opt for a large mixing bowl that allows ample space for stirring to prevent splashing. A glass bowl serves best, letting you see the vibrant colors emerge as you mix.
-
Whisk or Spoon: This will be your magical wand, blending ingredients seamlessly to create that delightful texture. A whisk may introduce more air, enhancing the lightness of the final product.
-
Mold or Individual Cups: Transform this dessert into an elegant display. Silicone molds release the gelatin effortlessly, while small cups make for perfect individual servings, ideal for portion control.
-
Refrigerator: A crucial player in your success, it will chill your gelatin mixture until just right.
Preparation tips: Before starting, ensure your workspace is tidy and your ingredients are ready to go. This will make the process seamless and enjoyable.
Ingredients for Bariatric Gelatin Recipe
-
1 package sugar-free gelatin: The star ingredient, packed with flavor and without the sugar, this makes your dessert guilt-free. Explore options like fruit-flavored or even unflavored if you seek a custom experience.
-
1 cup boiling water: This is essential for dissolving the gelatin completely, setting the stage for rich flavor and smooth texture.
-
1 cup cold water: This cools down the mixture after it’s dissolved, ensuring it achieves the ideal temperature for setting without overcooking the gelatin.
Consider exploring sugar-free flavored gelatin options that excite your taste buds. Love tropical vibes? Pineapple or mango flavors can whisk you away to sunny shores.
How to Make Bariatric Gelatin
-
Dissolve the sugar-free gelatin in boiling water: Pour the boiling water over the gelatin in your mixing bowl. Stir with enthusiasm, ensuring every granule dissolves completely. This step lays the foundation for your dessert’s texture.
-
Add cold water and mix well: Once dissolved, add in the cold water, mixing again gently. Watch as the vibrant color deepens and the mixture combines symphonically.
-
Pour the mixture into a mold or individual cups: Carefully pour your luscious mixture into your chosen molds. For individual servings, opt for small plastic or silicone cups. They make for delightful treats, especially for guests.
-
Refrigerate until set: Place the filled molds into the refrigerator, allowing the mixture to set for at least 4 hours. You can even prepare this a day in advance to enjoy a worry-free gathering.
-
Serve and enjoy as a light dessert or snack: Once set, gently pop or unmold your colorful gelatin onto plates. Slice it into fun shapes, and watch how your guests marvel at its beauty!
Chef’s Notes & Helpful Tips
-
Make-ahead tips: This recipe shines when prepped ahead! It holds up perfectly in the fridge for up to a week, making it an ideal treat to have on hand.
-
Cooking alternatives: Not feeling like a full gelatin dish? Consider making a jiggly fruit topping by mixing in chopped fruit before refrigerating. This adds texture and enhances the freshness.
-
Customization ideas: Experiment with different flavor combinations by mixing various sugar-free gelatins to create swirls of color. Add a touch of whipped cream on top for a creamy finish.
Common Mistakes to Avoid
Creating the perfect gelatin can be straightforward, but some pitfalls could derail your efforts:
-
Not dissolving the gelatin completely: Ensure thorough stirring in boiling water. Undissolved granules can result in unsightly clumps in your final product.
-
Pouring into a mold too soon: Make sure your mixture has cooled to room temperature before pouring into molds; this prevents condensation from forming, which can ruin the appearance.
-
Skipping refrigeration time: Resist the temptation to rush this step—proper setting is crucial. The magic happens in the fridge, and patience is rewarded with perfection.
What to Serve With Bariatric Gelatin
The joyful nature of gelatin interacts beautifully with various flavors, making it a delightful addition to your culinary celebrations. Consider these pairing ideas, each enhancing the experience:
-
Fresh Berries: Juicy strawberries, raspberries, or blueberries offer a burst of fruity freshness that complements gelatin’s sweetness.
-
Whipped Cream: A dollop of sugar-free whipped cream adds a creaminess that contrasts delightfully with the smooth, jiggly texture.
-
Nuts or Granola: For a satisfying crunch, sprinkle chopped nuts or granola on top before serving, introducing a delightful layer of flavor.
-
Cottage Cheese: For an unexpected savory twist, serve a scoop of cottage cheese alongside. The creaminess pairs wonderfully with the lightness of the gelatin.
-
Sliced Fruit: Pineapple or peaches bring an inviting sweetness, harmonizing beautifully with the gelatin.
-
Mint Leaves: A few sprigs of mint on top brighten the dish and bring a refreshing aroma to each bite.
-
Chia Seeds: Sprinkle chia seeds over the top for a nutritious crunch that packs an extra health boost.
Storage & Reheating Instructions
Store your delightful gelatin in the refrigerator for up to one week. Ensure it’s sealed tightly in an airtight container to maintain freshness. Freezing is not advised, as the texture may change upon thawing.
While gelatin doesn’t require reheating, if you’d like to serve it warm, gently melt individual portions in a microwave for a few seconds. Just be cautious to avoid overheating, as it will lose its delightful shape.
Estimated Nutrition Information
Approximate values per serving (based on 8 servings):
- Calories: 10
- Protein: 1g
- Carbohydrates: 1g
- Sugar: 0g
- Fat: 0g
Note: Before induldging, please consult with a nutritionist for tailored advice.
FAQs
1. Can I make this gelatin without sugar?
Absolutely! This recipe utilizes sugar-free gelatin, ensuring that you can enjoy its delightful taste without dietary concerns.
2. What other flavors can I use?
The world of sugar-free flavored gelatin is vast! Explore options like tropical punch, watermelon, or lemon lime. Customizing your dessert can yield exciting new flavors.
3. How can I add more nutrients to my gelatin?
Consider incorporating blended fruits or fruit puree before chilling. This enhances flavor and adds vitamins, plus you’ll love the vibrant appearance of your final dish.
4. Can I use regular gelatin instead?
Yes, if sugar isn’t a concern for you, regular gelatin works the same way. Just be prepared to enjoy a bit of additional sweetness.
5. Why is my gelatin rubbery?
A rubbery texture often results from using too much gelatin or not enough cold water. Follow the measurements closely for a delightful, wobbly outcome!
Conclusion
This Bariatric Gelatin Recipe promises to be your new go-to for light yet indulgent desserts. It celebrates simple ingredients, brings joy with its vibrant colors, and supports your health goals seamlessly. So why not step into your kitchen and let the adventure begin? Reinvent your relationship with dessert, one satisfying spoonful at a time, and savor the journey towards wellness—one luscious bite of gelatin at a time. Enjoy!
Print
Bariatric Gelatin Recipe
- Prep Time: 10 minutes
- Cook Time: 0 minutes
- Total Time: 240 minutes
- Yield: 8 servings 1x
- Category: Dessert
- Method: Refrigerating
- Cuisine: American
- Diet: Bariatric, Low-Calorie
Description
A guilt-free, vibrant dessert that aligns perfectly with your wellness journey while satisfying your sweet tooth.
Ingredients
- 1 package sugar-free gelatin
- 1 cup boiling water
- 1 cup cold water
Instructions
- Dissolve the sugar-free gelatin in boiling water by pouring it over the gelatin and stirring until completely dissolved.
- Add cold water and mix well until combined.
- Pour the mixture into a mold or individual cups for setting.
- Refrigerate until set for at least 4 hours.
- Serve and enjoy as a light dessert or snack.
Notes
Make-ahead tips: This dessert holds up perfectly in the fridge for up to a week. Consider mixing in chopped fruits for added texture.
Nutrition
- Serving Size: 1 serving
- Calories: 10
- Sugar: 0g
- Sodium: 0mg
- Fat: 0g
- Saturated Fat: 0g
- Unsaturated Fat: 0g
- Trans Fat: 0g
- Carbohydrates: 1g
- Fiber: 0g
- Protein: 1g
- Cholesterol: 0mg